
🌿 Homemade Miso with Akita Soybeans and Organic Koji
This year, we made our annual batch of homemade miso—
a tradition that has become a familiar rhythm in our household.
As always, we used the same trusted ingredients:
Akita-grown soybeans of the Ryūhō variety, and organic koji from Nanatsumirai.

Because miso-making takes time and care, choosing ingredients we can truly trust feels essential.
When buying soybeans at local farmers’ markets or the vegetable corner of supermarkets,
we can see the producer’s name on the label, which makes the process feel even more personal and reassuring.
Preparing the Soybeans (The Day Before)
The soybeans are soaked overnight in plenty of water.
In winter, they take longer to absorb moisture, so letting them sit for 12–18 hours works best.
Ingredients
- Akita-grown soybeans “Ryūhō” — 1 kg
- Organic koji from Nanatsumirai — 1.2 kg
- Seto no Arajio (sea salt) — 500 g
How to Make Miso
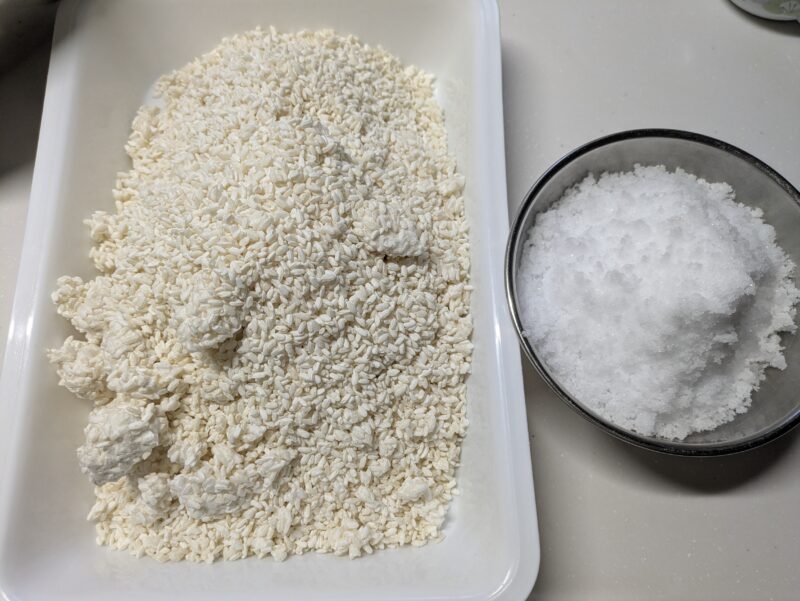
1. Mix the Koji and Salt
Gently break apart the koji with your hands and mix it with the salt.
Avoid pressing too hard—letting air in keeps the mixture light and easy to combine.
2. Cook the Soybeans Until Soft
Cook the 1 kg of soybeans in two batches using a pressure cooker.
Heat over medium, and once it comes to pressure, reduce to low and cook for 10 minutes.
Let the pressure drop naturally before opening the lid.
They’re ready when they can be easily crushed between your fingers.
3. Mash While Hot
Once the pressure has dropped, mash the soybeans while they’re still hot.
(Keep the cooking liquid—you’ll need it later.)
The hotter the beans, the smoother the final texture.

4. Combine with the Koji
Add the salted koji to the mashed soybeans and mix thoroughly until evenly combined.
If the mixture feels too firm, add a little of the reserved cooking liquid.
Aim for a slightly firm consistency.
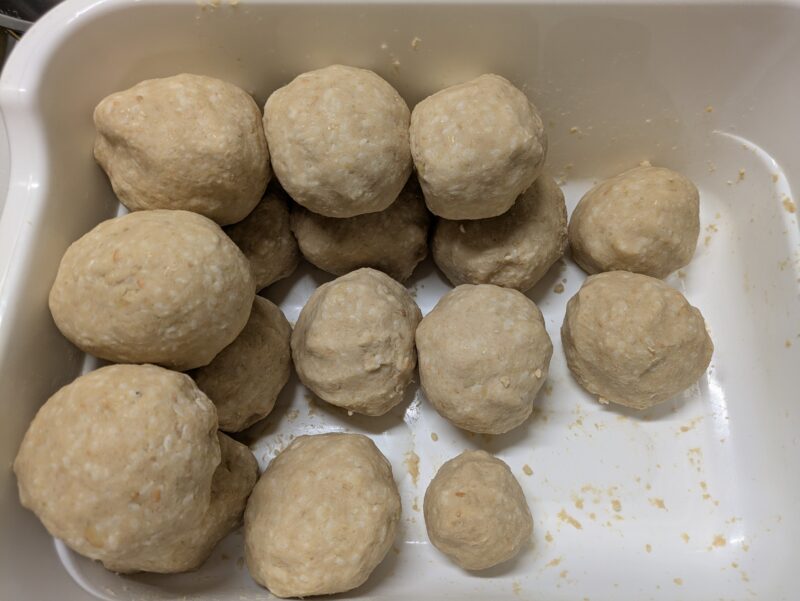
5. Form Miso Balls
Scoop the mixture into your hands and press firmly to form balls, squeezing out any air.
This step helps prevent mold during fermentation.
6. Pack into the Crock
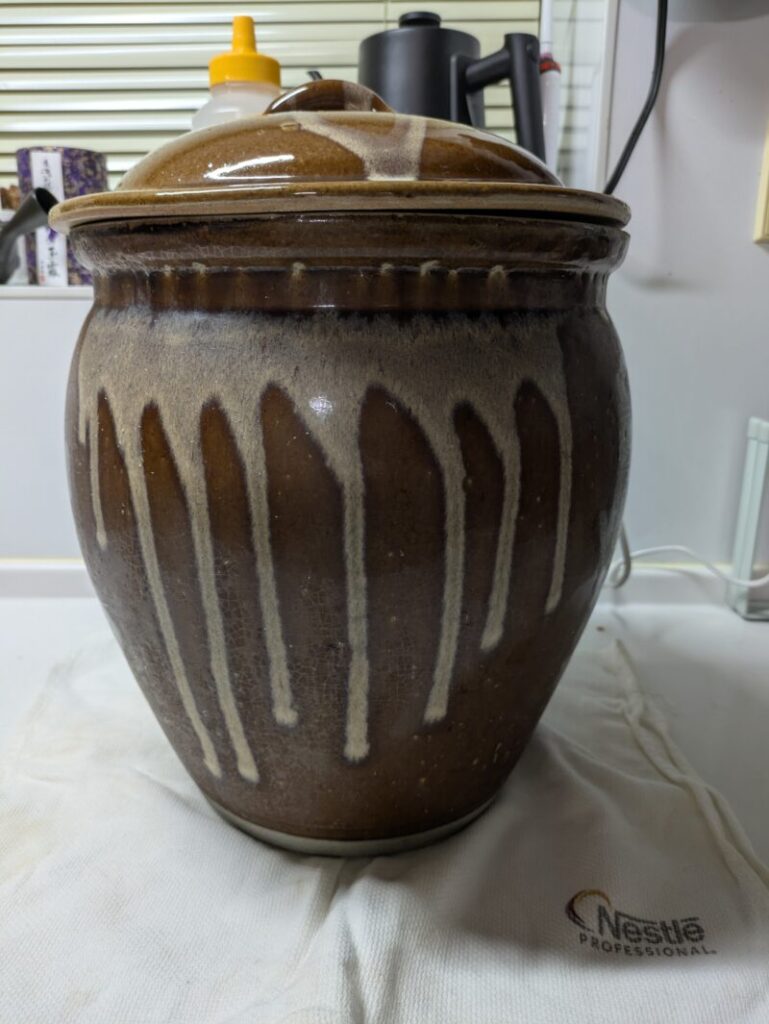
This year, we used a ceramic crock.
This crock has been in my family since my mother was a child—
a well-worn vessel that has aged beautifully over the decades.
It has held umeboshi, pickles, miso…
so many foods have matured inside it.
Entrusting this year’s miso to such a long-time companion brings a quiet sense of comfort.
Place the miso balls into the crock and press them down with your fist, eliminating any gaps.
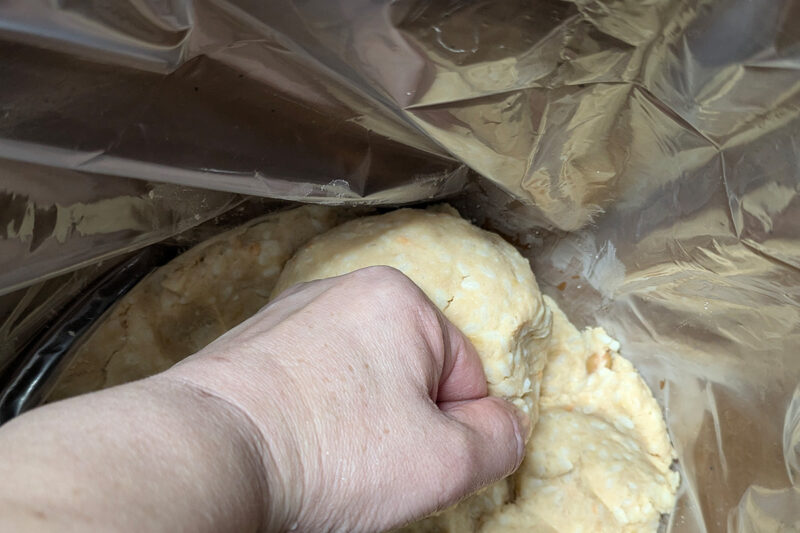
Finish by sealing the surface tightly with plastic wrap.
The miso is now ready to rest.
The Joy of Waiting for Fermentation
It’s said that miso becomes ready to eat once it has passed through summer.
In our home, we plan to open this batch next autumn.
This year, we used a little more koji than usual,
so I’m curious to see how the sweetness and aroma will develop.
I look forward to recording the opening next year.


最近のコメント